Recording voice on your mobile phone
As content creators, we know how good intelligible audio can make a world of difference. How many times have we felt like, “Man, that’s too noisy” or “It’s not loud enough”, “It’s not clear”, “What’s that crackling noise?” or “Why is there so much echo?”. Even when we listen with head/ear-phones on, it’s still not good enough. What if I told you that with just some basic understanding of sound and a properly informed approach to recording, you can get astoundingly better audio even when you don’t have access to a professional recording studio!? Let’s begin!
Sound and it’s interaction with Space
Sound waves travel in all directions from the source much like light from a bulb/candle — it is ‘Omni-directional”. When you speak, the sound spreads all around you. You hear a sound, you not only hear the direct sound from the source, you also hear the sound that is reflecting off of surfaces in the room/space you are in. When you record, you would ideally want a good clear recording of the source.
The sound you hear actually comprises of two components — direct sound and reverberations.
- The direct sound is that which you hear coming straight from the source.
- The reflected sound is the reflections of the sound bouncing off of walls and other objects/surfaces in the vicinity.
Rooms/spaces with a lot of reverb tend to muffle the sound and as a consequence, intelligibility is lost. So, a good room would be one where there is not too much reverb and hence would be preferable to record in so that clarity of voice is maintained. Sometimes a room’s reverb might sound beautiful and work well for the idea you’re planning to record too. So pick the space you want to record in accordingly. One may also record in an open space, but there you’ll have issues of wind and ambient noise to deal with. More on that another day.
How to make a room sound better? An empty room will have a lot of reverb. Make sure that there are fewer smooth surfaces in the room — like a blank wall or a mirror where sound can easily bounce off are big ‘NO’s. Make sure that you are not too close to either of them. One easy method to reduce the reverb in a room is by using furniture, cloth hangers, curtains, or bookshelves. More stuff in the room means that sound waves are broken. You could also make a makeshift recording booth by making a wall around you with a mattress!
Recording
Now that you’ve understood sound a little bit about sound in a given space, next comes the recording part. You’ll need three things to record sound — a microphone, an analogue to digital converter and a software/app that records this into a file. Fortunately your phone has all of these! For starters, you can choose any app you’re comfortable with but here are a few things you need to know before you pick one.
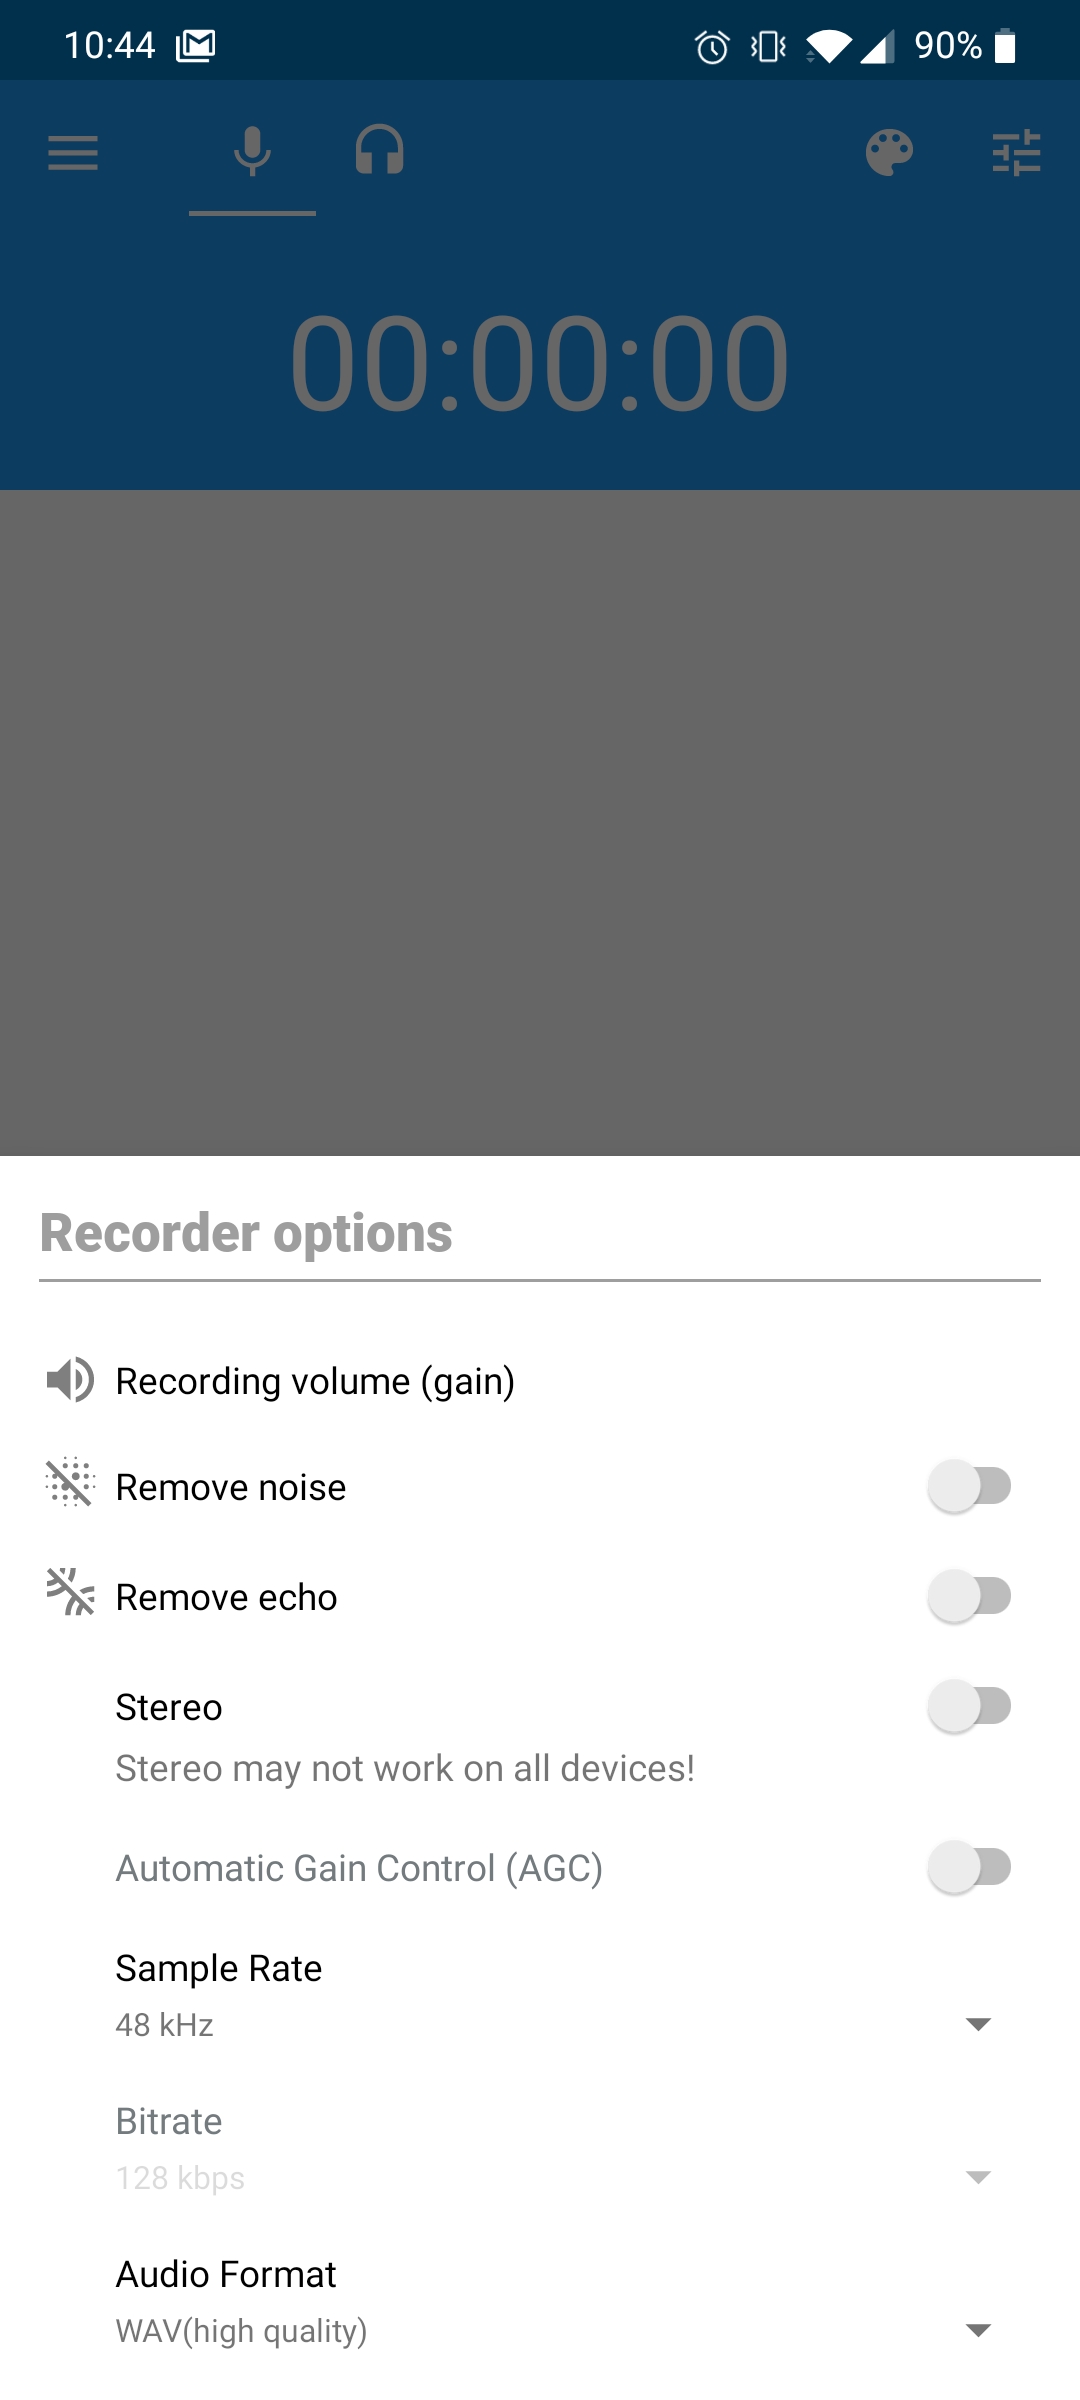
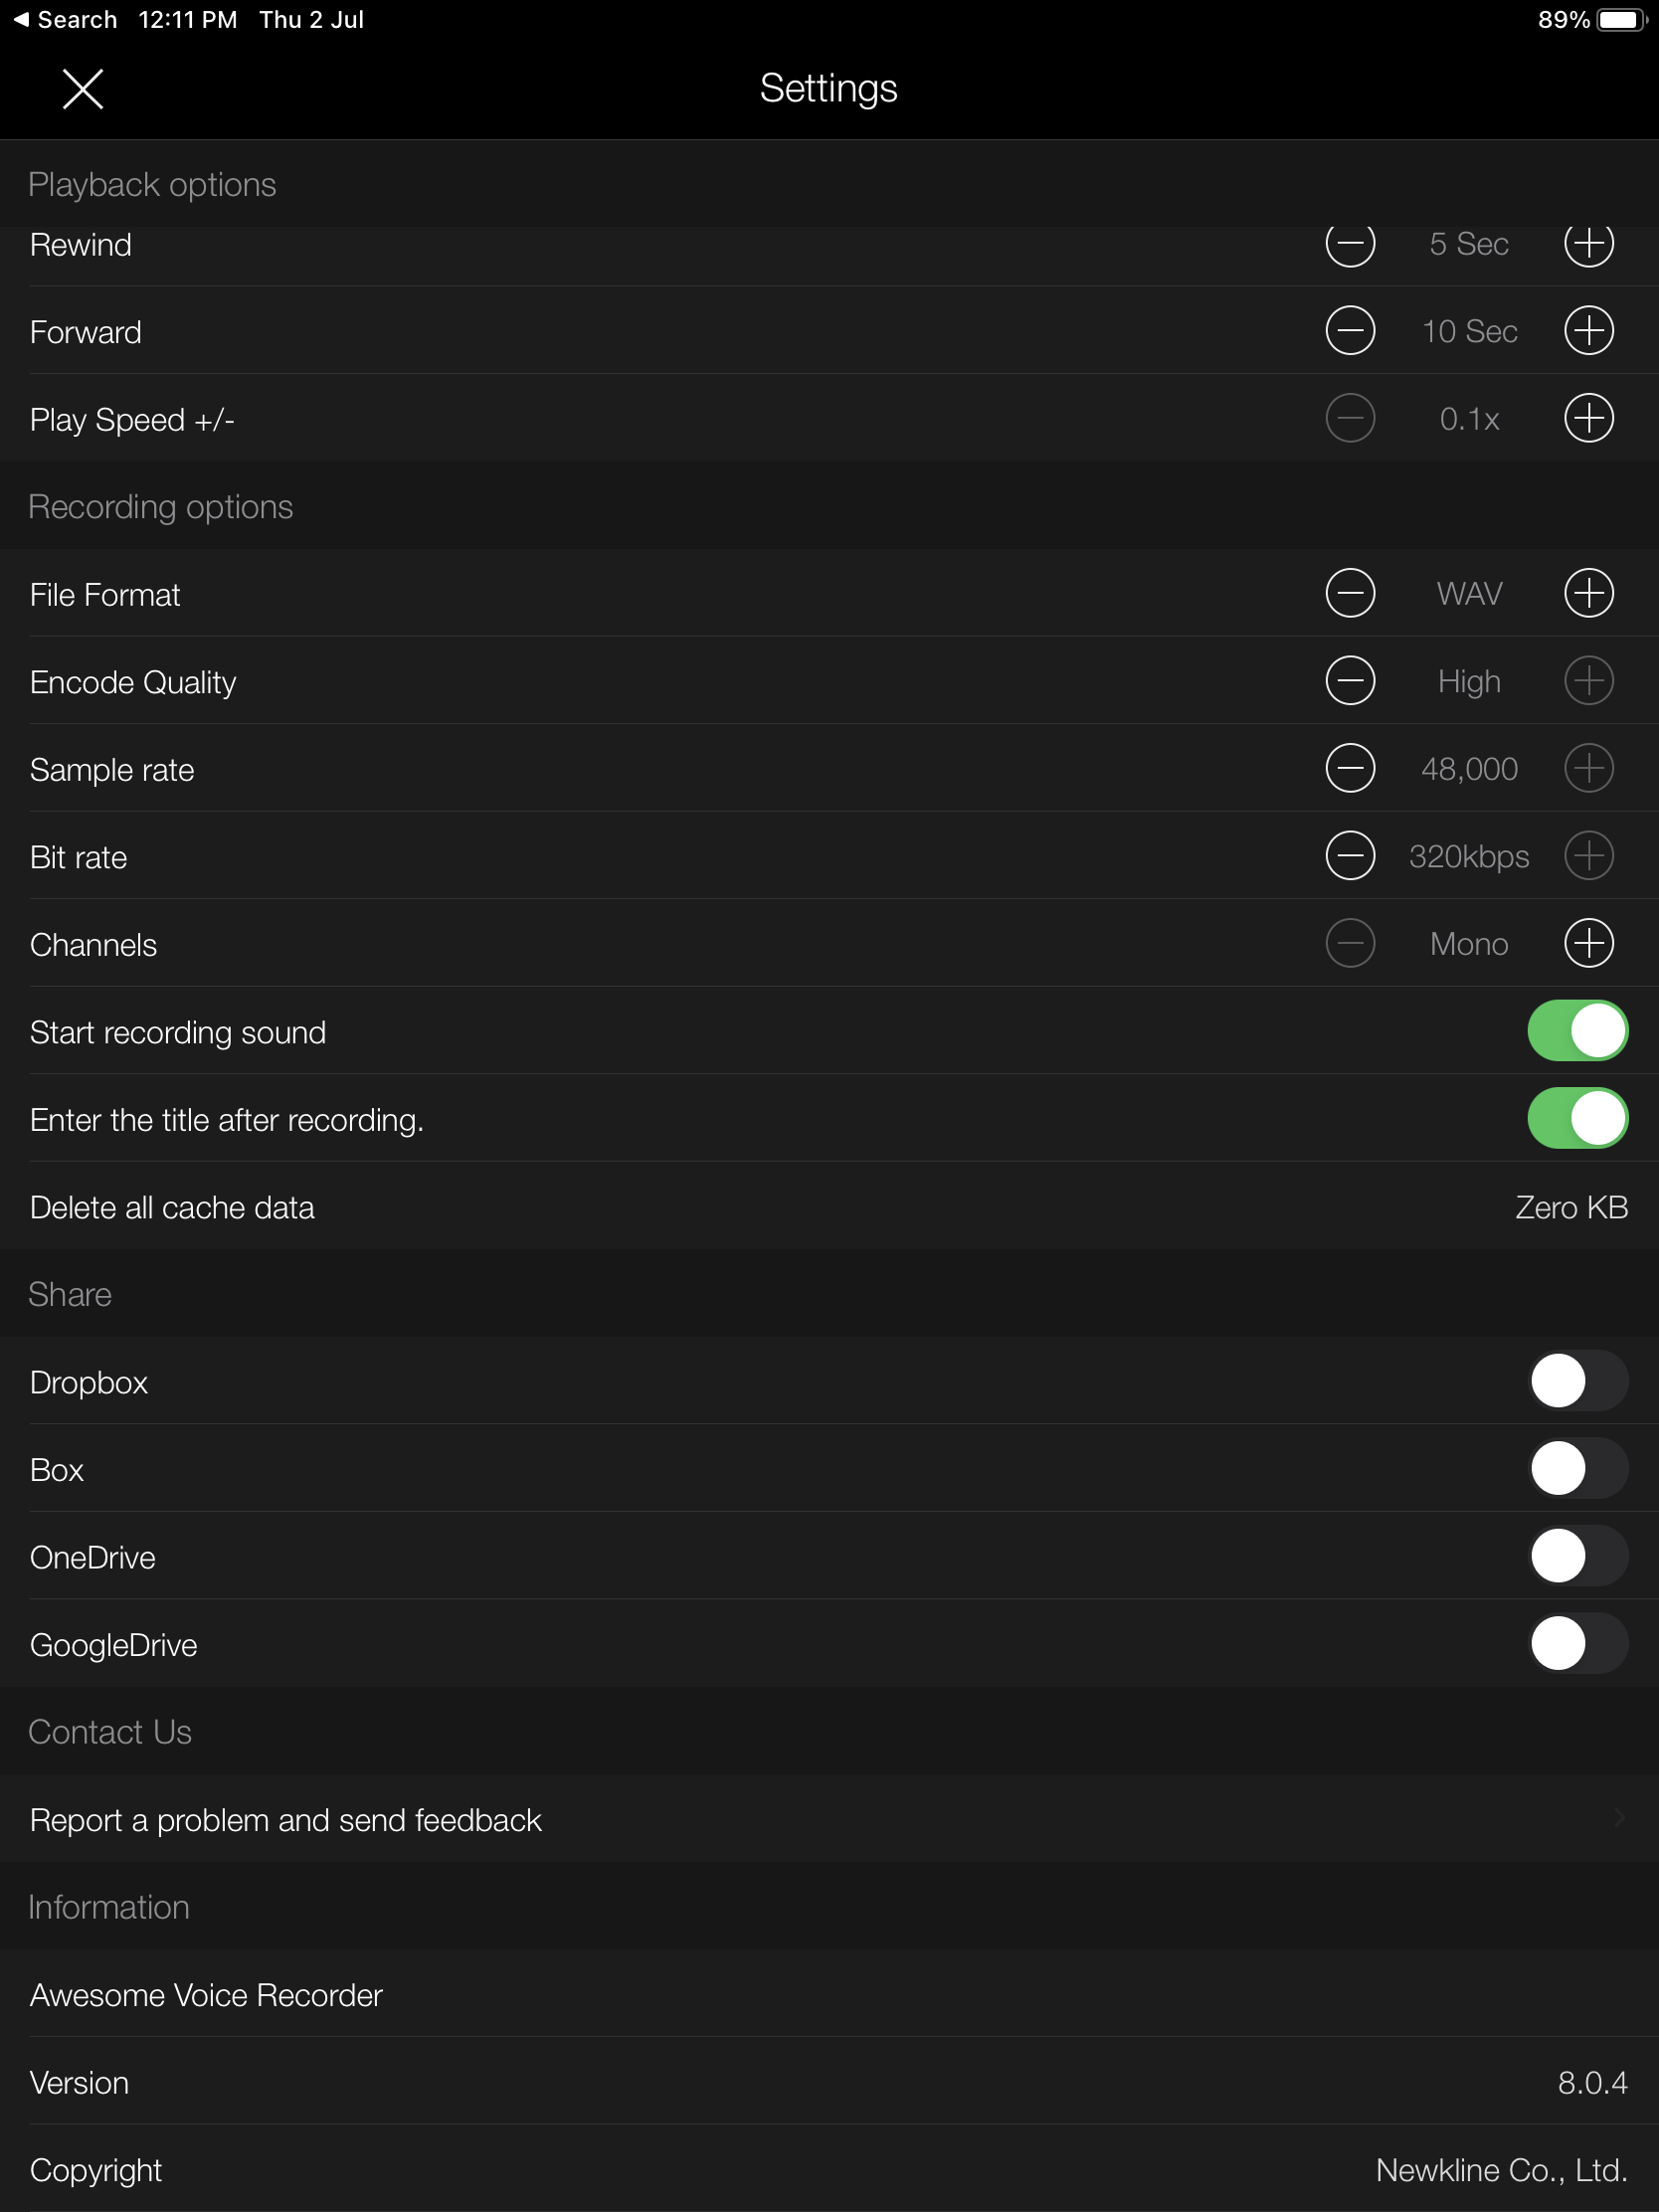
Make sure to select an uncompressed file format such as ‘WAV’ format and not ‘MP3’ which is a ‘lossy compression’ format. Just make sure that, depending on your application, you select ‘high quality audio recording’ setting. We’ll be looking at audio file formats in the upcoming posts in more detail.
If your app has meters that display input levels, that’s an added bonus! It will help you make sure that your audio is not too loud and distorting.
Here are a few apps you can try out.
- AudioRec Voice Recorder by AC SmartStudio (Android)
- Røde Rec LE, by Røde Microphones (iOS)
- Awesome Voice Recorder by Newkline Co., Ltd. (iOS)
Next thing you need to be aware is microphone placement with respect to yourself and to the room. Don’t go too close to the microphone, as general practice, keep it approximately 4 -6 inches away from your mouth depending on how loud you are.
A microphone is converts the sound waves into small electrical signal.
An AD converter reads these electical signal (analogue) and convers them into digital data which your device records.
Close doors and windows to avoid outside noise. Keep you air-conditioner or fan at low speed to reduce that noise interfering as well.
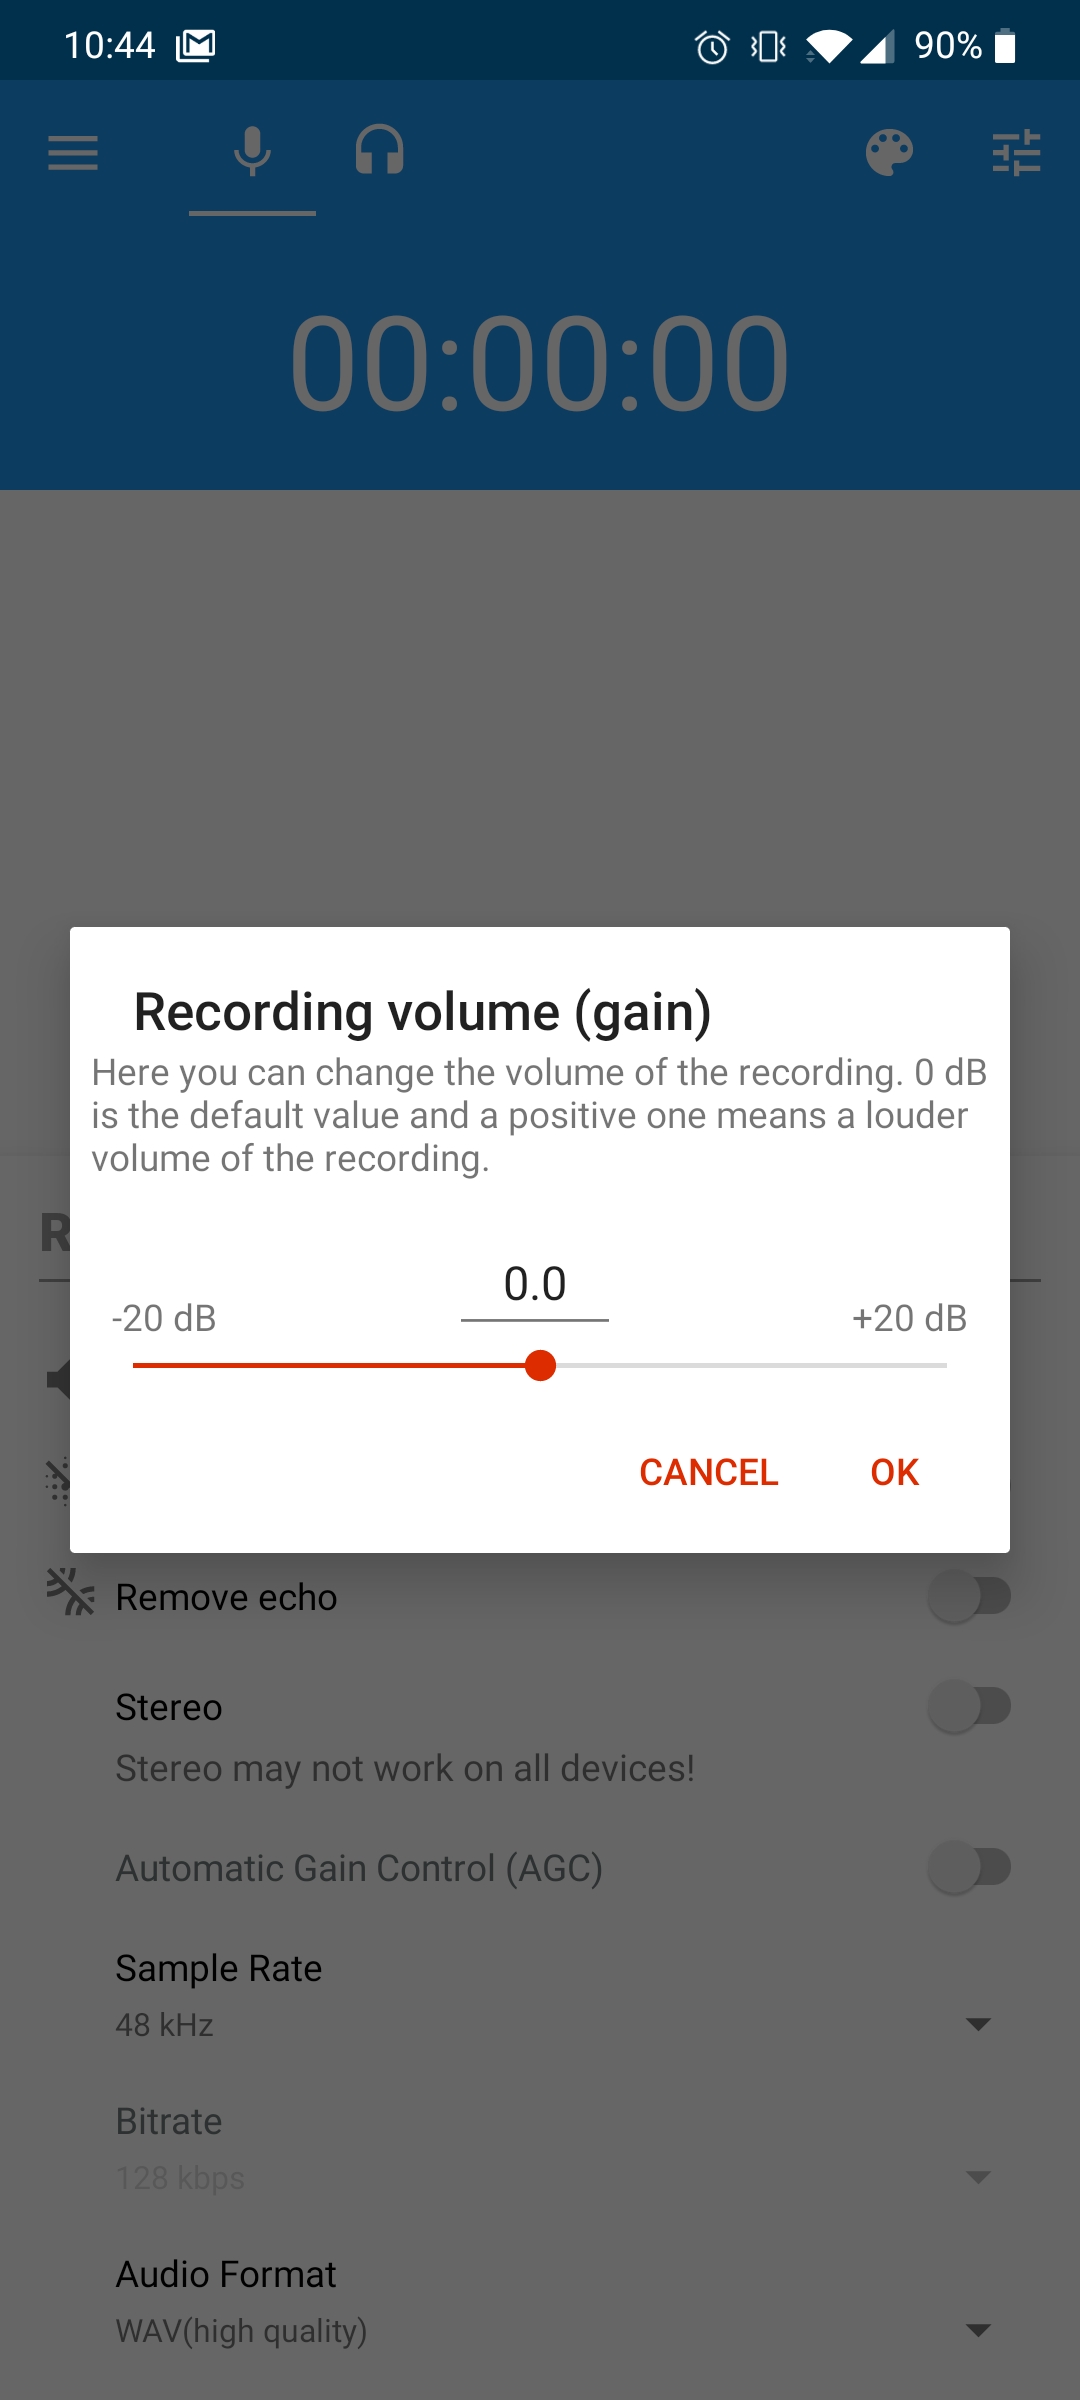
Here is a recommendation of settings for the apps suggested, for your reference. This will be a good starting point.
Do a couple of trial runs, and listen back to the audio on head/ear-phones to make sure there are no major technical issues like background noise.
Now that we’re all set, I hope you have fun recording and being creative!
For music videos, record the song and the video separately!
When recording a video with voice which needs to be done together, use Dual-System recording for better results!
(More on these in my next posts)
- To know more, see what you can learn with us. We are always happy to share.
- If you would like to work with us, check out our Services Offered.


